Accessing S3 content using CloudFront Signed URL
In this post, we will configure AWS CloudFront distribution to provide restricted access to S3 bucket private contents so that objects can only be accessed through CloudFront Signed URL.
A signed URL includes additional information such as expiration date, that provide user applications to have better control over access to the content.
Prerequisite
- AWS account with console access.
- Any Java IDE to generate signed URL code
- OpenSSL utility to generate public/Private Key
Now let’s start with the steps for the workflow.
Create S3 Bucket
Login to AWS console search for S3 service or go to https://s3.console.aws.amazon.com
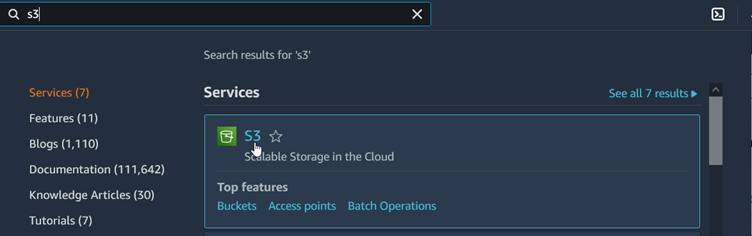
Click on S3 that leads to S3 console and follow the Create bucket button that lands to create bucket form.
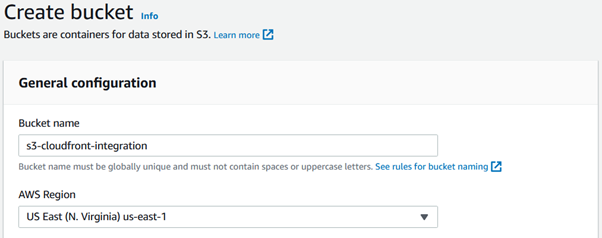
Choose a globally unique and valid name for the bucket, choose AWS region for which logged in user have persimmon to create bucket. Make sure the “Block all public access” checkbox is checked. Left rest of the settings to default and click on create bucket.
Create a key pair
In following steps, OpenSSL is used to create key pair to make a trusted key pair group for CloudFront.
There are other tools as well to create public/private key pairs.
- Use the following command to generate RSA key pair and save it in a file named private_key.pem.
openssl genrsa -out private_key.pem 2048- The following command will extract the public key from the generated file and save it in public_key.pem.
openssl rsa -pubout -in private_key.pem -out public_key.pem- Later this post will use java to generate signed URLs so the private key pair file cannot be used directly, instead PEM to DER conversion is required. Use the following command to do so.
openssl pkcs8 -topk8 -nocrypt -in private_key.pem -inform PEM -out private_key.der -outform DERKeep aside the files created as these will be required later while creating CloudFront Distribution to be used as signers to create signed URLs.
Creating the signers in CloudFront
Use the following steps to create a signer in cloud front,
- Open CloudFront Console and from the left hamburger menu, navigate to public keys under key management section.
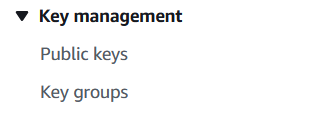
- Go to Public keys and create one by providing appropriate name and paste the contents of public_key.pem file in Key section.
- In the same key management section, go to key groups and create a key group with the public key created in previous step.
Now let’s move on and create cloud front distribution.
Create CloudFront Distribution
Search for CloudFront in AWS console.
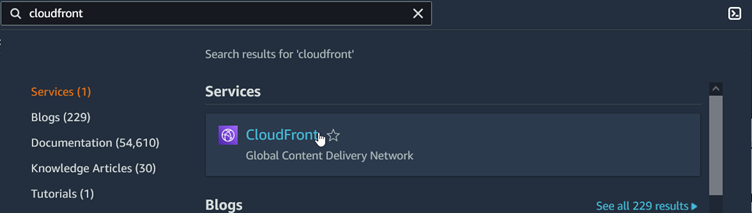
Open CloudFront console and click on “Create a CloudFront distribution” that opens the create CloudFront distribution form.
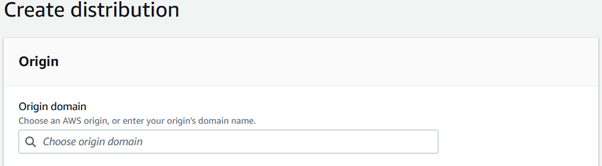
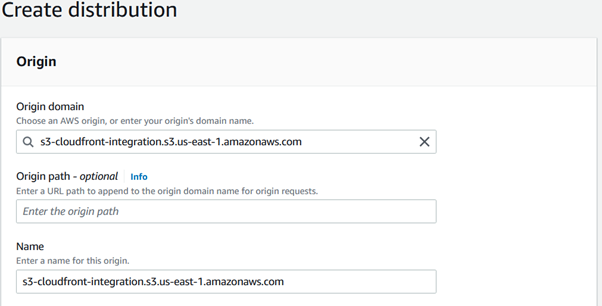
From the origin dropdown, select the bucket created in previous step as Origin domain.
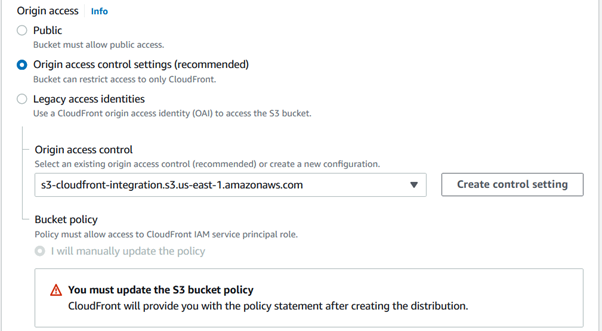
For Origin access, choose from options given,
1. Origin access control settings, which is recommended where you need to update the bucket policy, to allow access to IAM service principal, provided when distribution is created, or
2. Legacy access identities where an option to update the bucket policy is provided. This will update the S3 bucket policy so that the bucket can be accessible using the cloud front distribution.
Choose the recommended one and create control setting and use the same.
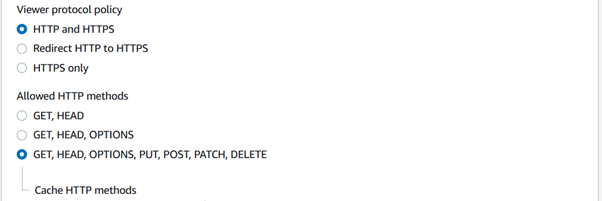
Choose Allowed HTTP methodsas required.
In Restrict viewer access, select yes and keep Trusted authorization type as Trusted key groups. In Add key groups section, select the key group from the drop down created in previously.
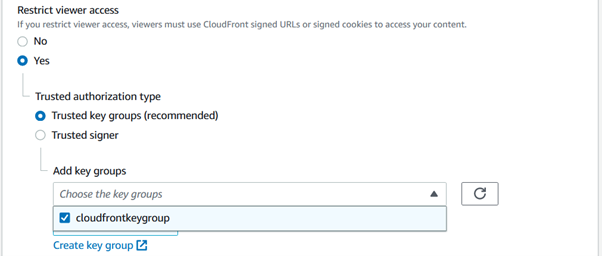
This will bind the key pair created in previous section so that one must need to create CloudFront Signed URL to access S3 Bucket content associated with distribution.
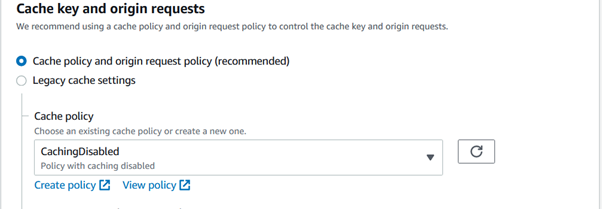
In cache and Origin Request, select CachingDisabled so that any update in s3 object will immediately reflected while fetching it.
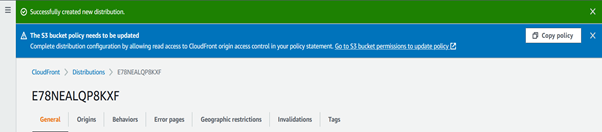
Now create CloudFront distribution keeping other options as default.
On success distribution detail page will open where on top of the page, copy the policy statement.
Update access policy in S3 bucket
Go to S3 console (https://s3.console.aws.amazon.com) and select the same bucket used in cloud front distribution as origin.
Move to bucket policy section under Permission tab, edit the bucket policy and paste the contents of bucket policy copied.
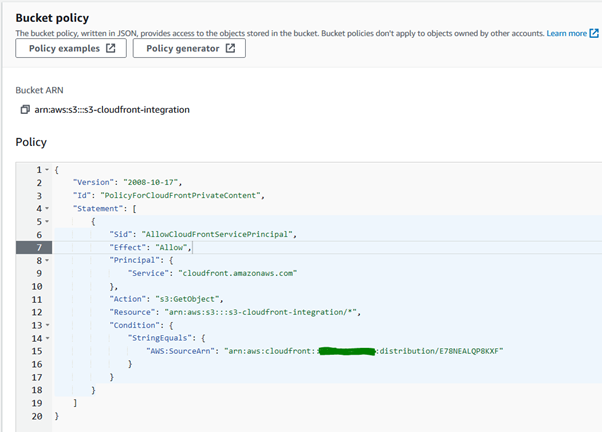
For this policy, the allowed action is restricted to read the objects, that can be modified as per requirement. Let’s update the action and add permission to write objects as well. To do so, replace the action line with following.
"Action": ["s3:GetObject","s3:PutObject"],
The resulting statement will look like mentioned below.
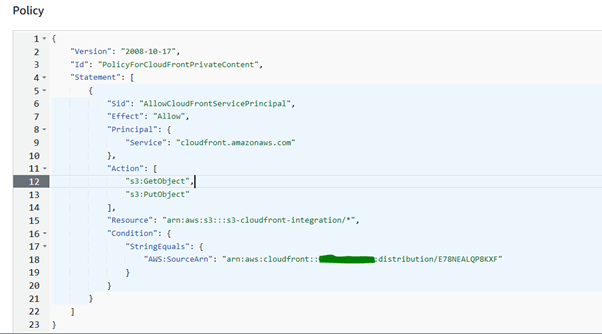
Save the changes.
With this configuration part is completed and now let’s move on to create cloud front signed URL.
Generating CloudFront Signed URL
Steps and code to generate cloud front signed URL is explained below.
Create spring boot gradle project and add the below dependencies to it.
implementation 'com.amazonaws:aws-java-sdk-cloudfront:1.12.283'
Here is the code for generating cloud front signed URL.
import java.io.File;
import java.io.IOException;
import java.security.spec.InvalidKeySpecException;
import java.util.Date;

import org.springframework.boot.CommandLineRunner;
import org.springframework.boot.SpringApplication;
import org.springframework.boot.autoconfigure.SpringBootApplication;

import com.amazonaws.services.cloudfront.CloudFrontUrlSigner;
import com.amazonaws.services.cloudfront.util.SignerUtils;

@SpringBootApplication
public class CloudfrontsignedurlApplication implements CommandLineRunner {

	public static void main(String[] args) {
		SpringApplication.run(CloudfrontsignedurlApplication.class, args);
	}

	@Override
	public void run(String... args) throws Exception {
		String cloudFrontKeyPairId = "<public_key_id>"; // public key id created in cloud front key management section.
		String distributionDomain = "<cloud_front_distribution_name>"; // cloud front distribution domain name.
		String key = "cloudfrontsignedurl/objetc1.txt"; // S3 bucket object path

		Date expirationDate = new Date(System.currentTimeMillis() + 7200000); // Token will be valid for 2 hour
		try {
			File cloudFrontPrivateKeyFile = generateCloudFrontPrivateKeyFile();
			String signedUrl = CloudFrontUrlSigner.getSignedURLWithCannedPolicy(SignerUtils.Protocol.https,
					distributionDomain, cloudFrontPrivateKeyFile, key, cloudFrontKeyPairId, expirationDate);
			System.out.println(signedUrl);

		} catch (IOException | InvalidKeySpecException exception) {
			throw new Exception(exception.getMessage());
		}
	}

	private File generateCloudFrontPrivateKeyFile() {
		File file = new File("<private_key_file>"); // Path to public/private key pair file.
		return file;
	}
}
The generated signed URL will look as mentioned below.
https://d26doxj2i1y97q.cloudfront.net/cloudfrontsignedurl/objetc1.txt?Expires=1661499384&Signature=LabCbO27wL1-ErAEwYU9CBGh1pVdmRY2oQ94QfQP9cGi4vQTNgo7xT3ctbr6lAolcH5AZEe-I79s~spEA6VCnRUIstsvDhLoN4spJHrQxlecapxKK7P0J9U6kXL8V2ucDgwrJmFfdFWpipeGkgTVgKJ~s53Unp76YrTJODYnX-ZZc3RuQ4go5oBYhXU2hRHKlVusV3llhlOyfN58FxytzAZkegECRj6LR6m0WzRI-guCPqHCO7Gir~Ls5ewCw-TZpAyMca-LjKAeTGd~KS4etFgr5Tbt3UrGiDXJVoDkCcc-Z1cu9xu34s9ZQHqSD-t7AHdCszv6sitRcFK9PSJQyg__&Key-Pair-Id=K1HEUAHR3KG1E3
This URL can be used to upload and download the object to S3 bucket.
Note** One also need to set the Access Key ID and Secret Access Key for programmatic access.
Complete code for generating the signed URL can be found at Github.